


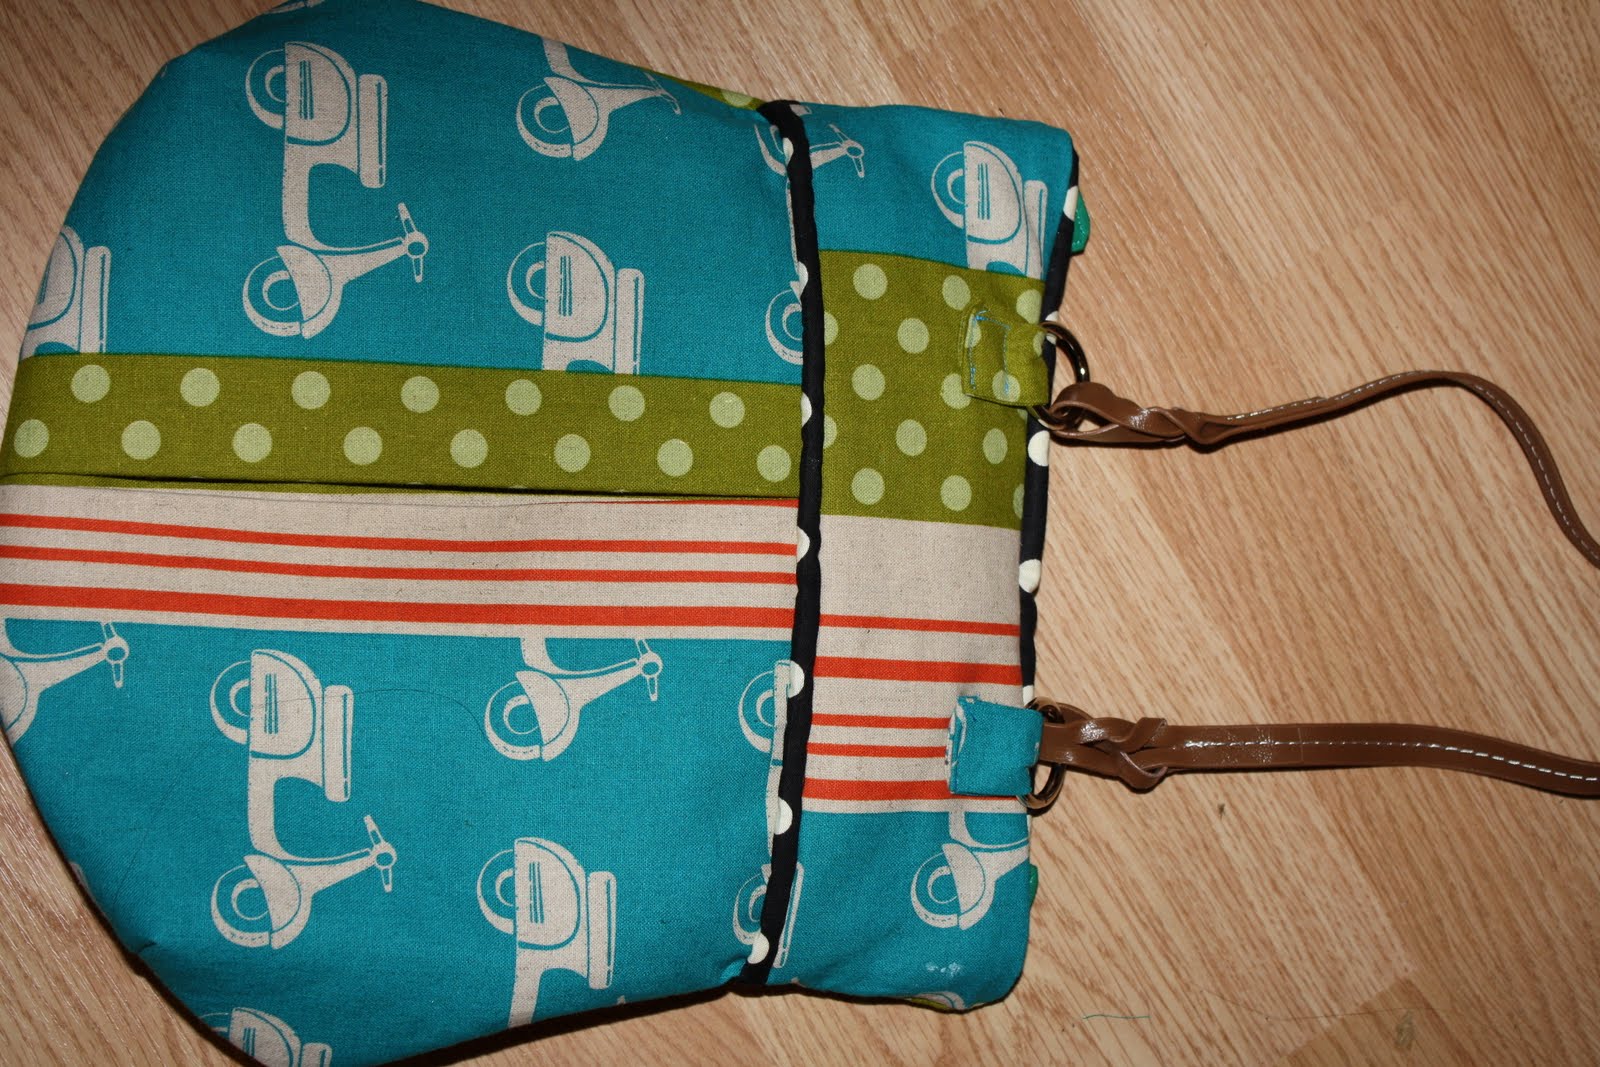
Normally I am not the swearing kind, but if I was, this purse would have me spouting all sorts of expletives. I don’t know if I’ve been tired this week or what, but I should have known right from the start this project would be a disaster. This is the Pretty Pinafore Purse from U-handbag. While cutting my pattern pieces out on the fold, from my precious little bit of Echino scooters fabric, I made a boo-boo and ended up with a chunk missing out of one side of the bag. So I shortened the ends on each side, forgetting to also shorten the height.
Well, whatever, I got through it. I’m not too crazy about the finished bag, though. Maybe I would have liked it better if I had made it exactly as in the pattern, or maybe not. I don’t even have the heart to sew on the second strap because I just feel like banishing it to the land of misfit purses. Which is a shame, because the fabric is so beautiful.

Fabric – I used 1/2 yard of Echino scooters fabric, which is a cotton canvas, and for the lining I just used solid-colored scraps that I had from a previous project. The instructions also called for medium-weight interfacing (for the exterior) and fleece interfacing (for the lining).
Illustrations/Instructions – There were full-color photos and step-by-step instructions. Normally with .pdf patterns, there will be a paragraph followed (or next to) the corresponding photograph showing you what to do. This pattern has the text instructions on the left side of the pages, and the photographs on the right side; however, the photo next to the paragraph is not necessarily for that step (i.e. the photo might actually be on the next page). I mean, the photos were clearly marked Fig. 10, Fig. 11, etc. so you can figure it out.
This pattern features a concealed zipper, which I have never done before (see the two pictures below). For some reason I got confused on making the tab (which should have been easy) on each side of the zipper. I did adjust the zipper length due to the fact that I knew my bag was smaller because of my cutting error. At first I thought the concealed zipper was sort of nifty, before I had installed it into the bag. But now that I look at the finished bag, I’m not really all that crazy about the tabs sticking out of each side. I would rather have a different zipper design or a magnetic snap.


This was my first time doing piping on a project, so I was excited to learn. I didn’t have time to order the Nancy Zieman Fusible Piping that someone had suggested to me, so I just bought regular cording from the store. The instructions called for a piping sewing machine foot, which I don’t have, but they said that a zipper foot would work okay too. I had a hard time keeping the fabric for my piping under my foot, as it was so thin and if I didn’t hold it with both hands, it would slip out the side. Once I got the hang of what I was doing, it was okay though. I am glad I tried piping, I sort of like it and wouldn’t mind using it on another project in the future.
I sort of wish I had used a sturdier interfacing, the bag is floppy and I normally like stiffer bags. I did what the pattern called for, and I can understand you need a lighter interfacing for the exterior because of the pleat down the center. But maybe if I had used a heavy interfacing, like Peltex, on the interior, it would have been able to be sturdier. Not sure.

Pattern Pieces – There were only two pattern pieces to cut out (1 of those had to be taped together). The rest were a series of rectangles for the pocket and piping. I opted to try a leather strap since I hadn’t before. I am not sure if I would use this type of strap again, I would rather get one that I can sew directly to the bag, but this one was the cheapest (the rest I would have to order online).
Conclusion – This is for the intermediate sewer. I made a lot of mistakes, but I also learned a lot sewing this bag. I might make it again, provided I can cut correctly next time, but I will definitely not use a fabric that I have been saving a long time, like I did with this fabric (sob).


I’m so sad for you! I can totally relate to messing up a project when I finally decide to use a piece of fabric I’ve been hanging on to…it’s so frustrating! I think the bag has lots of potential; I hope you do try it again!
I am so sorry it did not turn out as you planned. The fabric you chose is darling.
Awww, such a bummer! I hate it when stuff like that happens. I can totally relate!
Hi, found your blog after searching on google for pretty pinafore bag, just read your post and I’ve been making the bag on and off for the last two weeks and now it’s time to stitch the lining in and the side seams just won’t go right where the piping is at the top of the bag (I’ve left the zip off as I’m rubbish at zips).
Did you find putting in the lining in easy? any advice is very welcome!
Josie