

This post is part of the Sewing Back-to-School series, 30 days of helpful sewing articles by guest bloggers. Feel free to check out the original Sewing Back-to-School post for schedule and previous posts!

Jennie from Clover and Violet is multi-talented…not only is her blog awesome and chock full of great projects, but she also has a sewing pattern shop with some beautiful patterns, most of them patchwork! I have the Madeline Bag pattern and I love it! If you like this article on embroidery, head on over to her blog for a sew along!
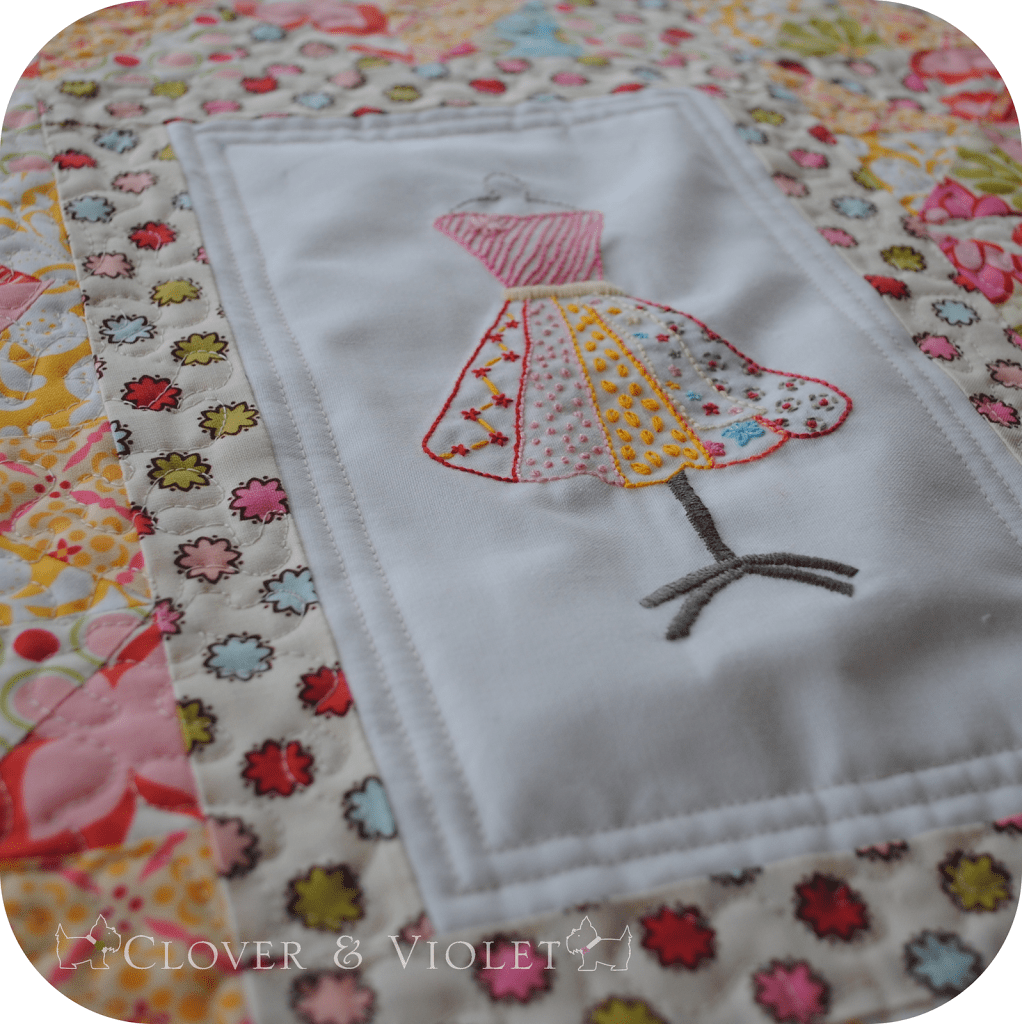 |
| Doll Quilt Swap 10 |
I started adding embroidery to my sewing and quilting projects over the last year. It all started with participating in swaps on Flickr {warning: swaps are addictive!}, and seeing so many beautiful art quilts being designed and sent all over the world. However, I am just not talented like that, so I was seeking another way to add art to my quilting, and settled on embroidery. I was surprised that when I posted photos on my blog, many people were interested in embroidery but didn’t know where to begin.
First, let’s look at a list of supplies that are needed for starting out:
 |
| Stranded Floss |
Thread: There are two major types of threads: stranded floss and perle cotton. There are a few differences. Stranded floss, what most people are familiar with, is sold in skeins of about 9 yards, and generally has six individual threads. When using this floss anywhere from 1 to 6 threads is used, to vary the thickness of the stitch. Perle cotton is a two ply thread
 |
| Perle Cotton size 8 |
that is not dividable. Instead, perle cotton is sold in a variety of thicknesses ranging from 12 {smallest} to 3 {largest}. Perle cotton in size 8 seems to be similar to three strands of stranded floss.
My favorite thread is a perle cotton in size 8. It has a nice sheen to it, and stitches beautifully. However, since it can be difficult to find, I’ll stitch with whatever I can get my hands on! For more on the difference between stranded thread and perle cotton, check out this more detailed post.

Needles: Choosing the right needle is a lot easier than it seems. Since there are needles designed especially for embroidery, choosing the size is really all that matters. The needle should be easy to thread with whatever number of strands or width of thread you’re using. They are numbered with the smaller number being a larger needle and can be found from a variety of manufacturers.
Hoops: I like to use the plastic hoops to secure my fabric before stitching.

Stabilizer: When stitching it is often a good idea to stabilize the fabric. There are a variety of types, those that are left behind and those that wash or tear away. Since most of the projects I make are put into mini quilts, I like to use a light-medium fusible stabilizer that will remain on the fabric. This helps reduce wrinkling around the embroidery when washed. For more information on the supplies I use, visit this more detailed post.
Transfer: There are also a variety of ways to transfer a design to fabric. I prefer to use a washable pen when transferring because I have a tendency to change the pattern a little as I’m working on it. Although a light box would be an excellent resource, I simply don’t have the space to accommodate one. Instead I use a window. Here is an example of how I transfer the design:


I hope you’re encouraged to add a little embroidery to your work. It really adds a personal and individual touch.


Thank you!
I’m interested in the fact you prefer a plastic hoop – I haven’t seen one in the UK!
Thanks. I love embroidery! Can I be a bum and ask if that darling bike is available for downloading? Love it!
I like the tutorials on the stitches. That is where I am weak.
The bike graphic is so cute. We are bike riders in this family. Where can I download the pattern? Who’s the designer? I’d love to purchase 🙂