

This post is part of the Sewing Back-to-School series, 30 days of helpful sewing articles by guest bloggers. Feel free to check out the original Sewing Back-to-School post for schedule and previous posts!
 |
| Under the Veranda quilt pattern |
Amanda Murphy designs fabric for Robert Kaufman, including Ambrosia, Swiss Chocolate, and her newest line, Veranda, available now! She also has several amazing quilt patterns…I tested 1 (almost finished the 2nd!), so I can personally say that the instructions are very thorough and the diagrams extremely helpful!
Hi everyone! I’m so glad to be guest-writing at Sara’s wonderful blog. Sara has been gracious enough to test-sew my patterns in the past and I’m lucky enough to be able to return the favor. Thanks, Sara!
My topic is buttons and buttonholes. Don’t let them intimidate you! These fancy computerized machines do all the work for you. Even basic machines today usually come with a buttonhole attachment.
A common use of buttonholes in quilting is for the back of pillows. When you have an extra block or two (or three or four) it is always fun to make a coordinated pillow. It is also a great way to practice quiltng motifs before you sew on the actual quilt!
We are going to be sewing panels for the back of a pillow that feature three buttons and looks like this when finished…

Cute, right? (I can’t show you the front of the pillow as it is for a magazine in the not-too-distant future.) A buttonhole closure on the back of a pillow always turns it up a notch and gives you a nice, professional look.
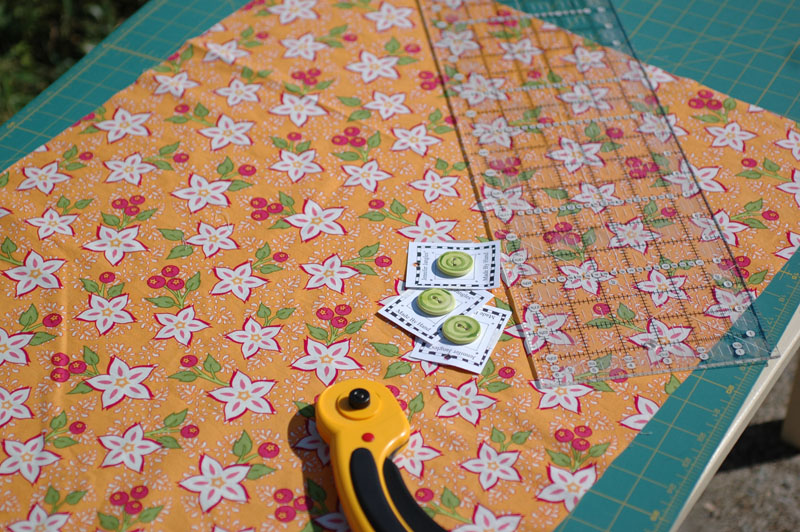
You will need:
- a piece of backing fabric 1″ larger in width than your finished pillow size and 8″ larger in length
- 3 buttons
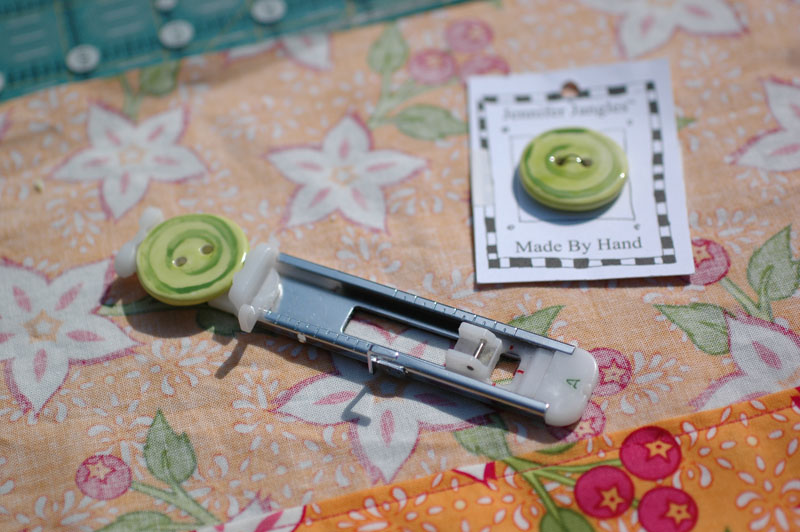
- 1 buttonhole attachment
- 2 (2″) strips of fusible interfacing a little longer than your pillow width
For the first step, figure out the finished size of your pillow. Add 1″ onto the width and 8″ onto the height. Cut a rectangle of backing fabric this size. (I used 20″ pillow, so I cut a 21″ x 28″ piece of blossoms and berries backing fabric from my Veranda line.)
Subcut this rectangle into a top and bottom piece. You’ll make this cut about 1/3 down from the top, narrow edge of your rectangle. (I cut my large rectangle into a 21″ x 10″ piece and a 21″ x 18″ piece.) The specific sizes don’t really matter, but make sure your cut is parallel to the top edge of the fabric, or you will end up with a tilted buttonhole panel!

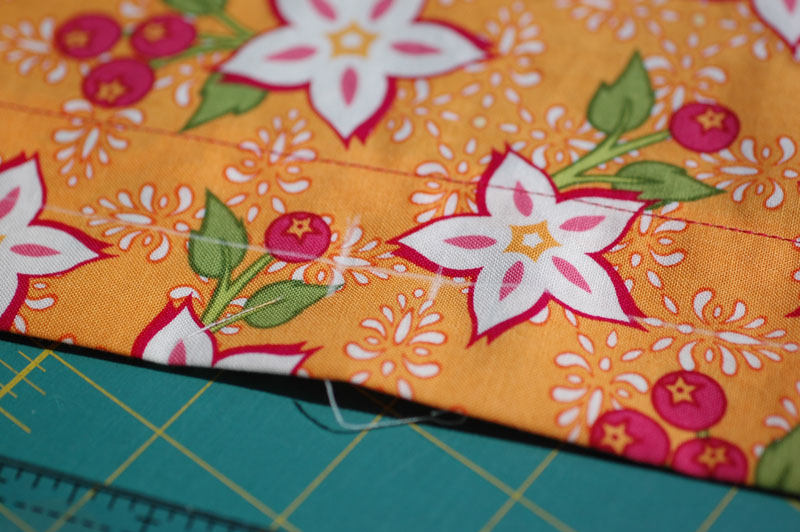
Turn under the two adjacent edges (the ones you just cut) 1/2″ and press.

Turn under those same edges again 2″ and press. Slip interfacing strips into fold and press to secure. Keeping the fabric wrong side up, go over to your machine and topstich the panels 1/8″ away from the original fold. This will secure the interfacing within the panel.

Now take a piece of test fabric and draw two intersecting lines to indicate your starting place when you begin to sew. Lining up your buttonhole attachment with your mark, sew a test buttonhole on your scrap fabric. You dont’ have to interface this test strip, but use two layers for stability so that it doesn’t get pulled into the machine.
 |
| Note the white chalk marks that indicate the spot I started the buttonhole. |

Meaure the size of the buttonhole when finished. This picture is a little fuzzy, but mine is about 1-1/4″ across, which meant that the center of the buttonhole is 5/8″ to the left of the point I started to sew. Later in the process, when I make buttonhole placement marks, I will need to offest them by this measurement so the buttonholes will end up centered.
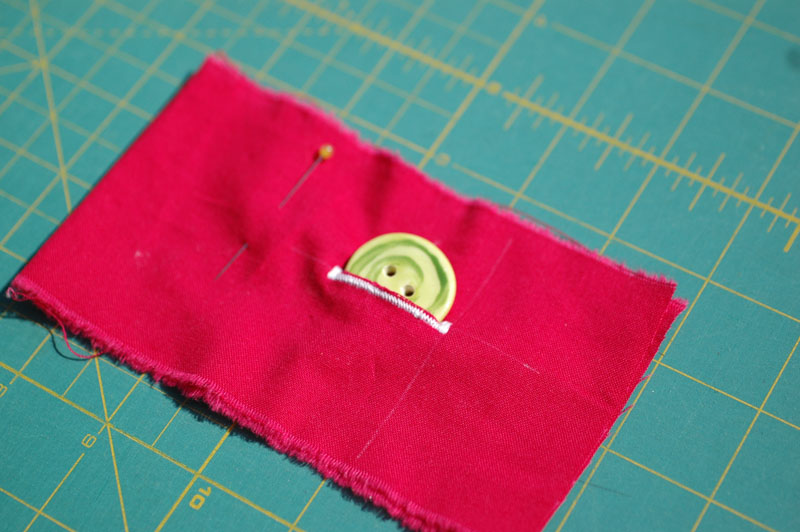
Open up the test buttonhole. To do this, place a pin across one end of your buttonhole as shown below. Make sure the pin goes OVER the fabric at the end of the buttonhole. Now take your seam zipper and open up the buttonhole. The pin will prevent you from cutting into the edge of your stitching.

Test the size of you buttonhole by inserting a button…
To mark the placement for the two buttonholes on either side of the center buttonhole, measure 3-1/2″ out from each side of the mark you just made and mark two more intersections.

Bring the panel over to your sewing machine. Keeping the folded edge to YOUR RIGHT, sew each buttonhole.


Great instructions! I usually just guess and try and see how it goes. I think this will work better 🙂
I have never done a buttonhole out of just plain fear and screwing up my Project. But just like your other Tutorials Amanda, this is perfect and soooo easy to understand. Thank~You for such a Inspiring Post!!
Huggs, Nancy
Hi Sara,
I couldn’t leave without saying Hello to you too!! Love this colorful Blog!! I am now following you on GFC, and I Liked you on FB. I look forward to your future Post!!
Huggs, Nancy
Thanks for the great instructions Amanda!
Thanks for the great tutorial Amanda!
These instructions are so clear! This is a great tutorial for something that was pretty intimidating to me! I’ve sewn for years, and made many a zigzag stitch button hole on kids’ clothing, but now I am ready to try my new machine and the attachment!
What a great tutorial!!! I’ve been wanting to try making my own pillow and now I think I’m ready to give it a go!!! Thanks so much!!!
~Terry~
Great tutorial! Thanks for sharing~!