


This post is part of Dress Up Party. For contest rules, full details, and schedule, please click here!
Today’s post is from Jennifer of Moore Approved.
First off, I want to share with you all that I have only been making clothing for just over a month now. I am no garment ninja, and would consider myself a true beginner.
Seeing all of Sara’s fantastic assignments for her Project Garment series definitely inspired me to give it a whirl. After all, who wouldn’t want their own custom made clothing?
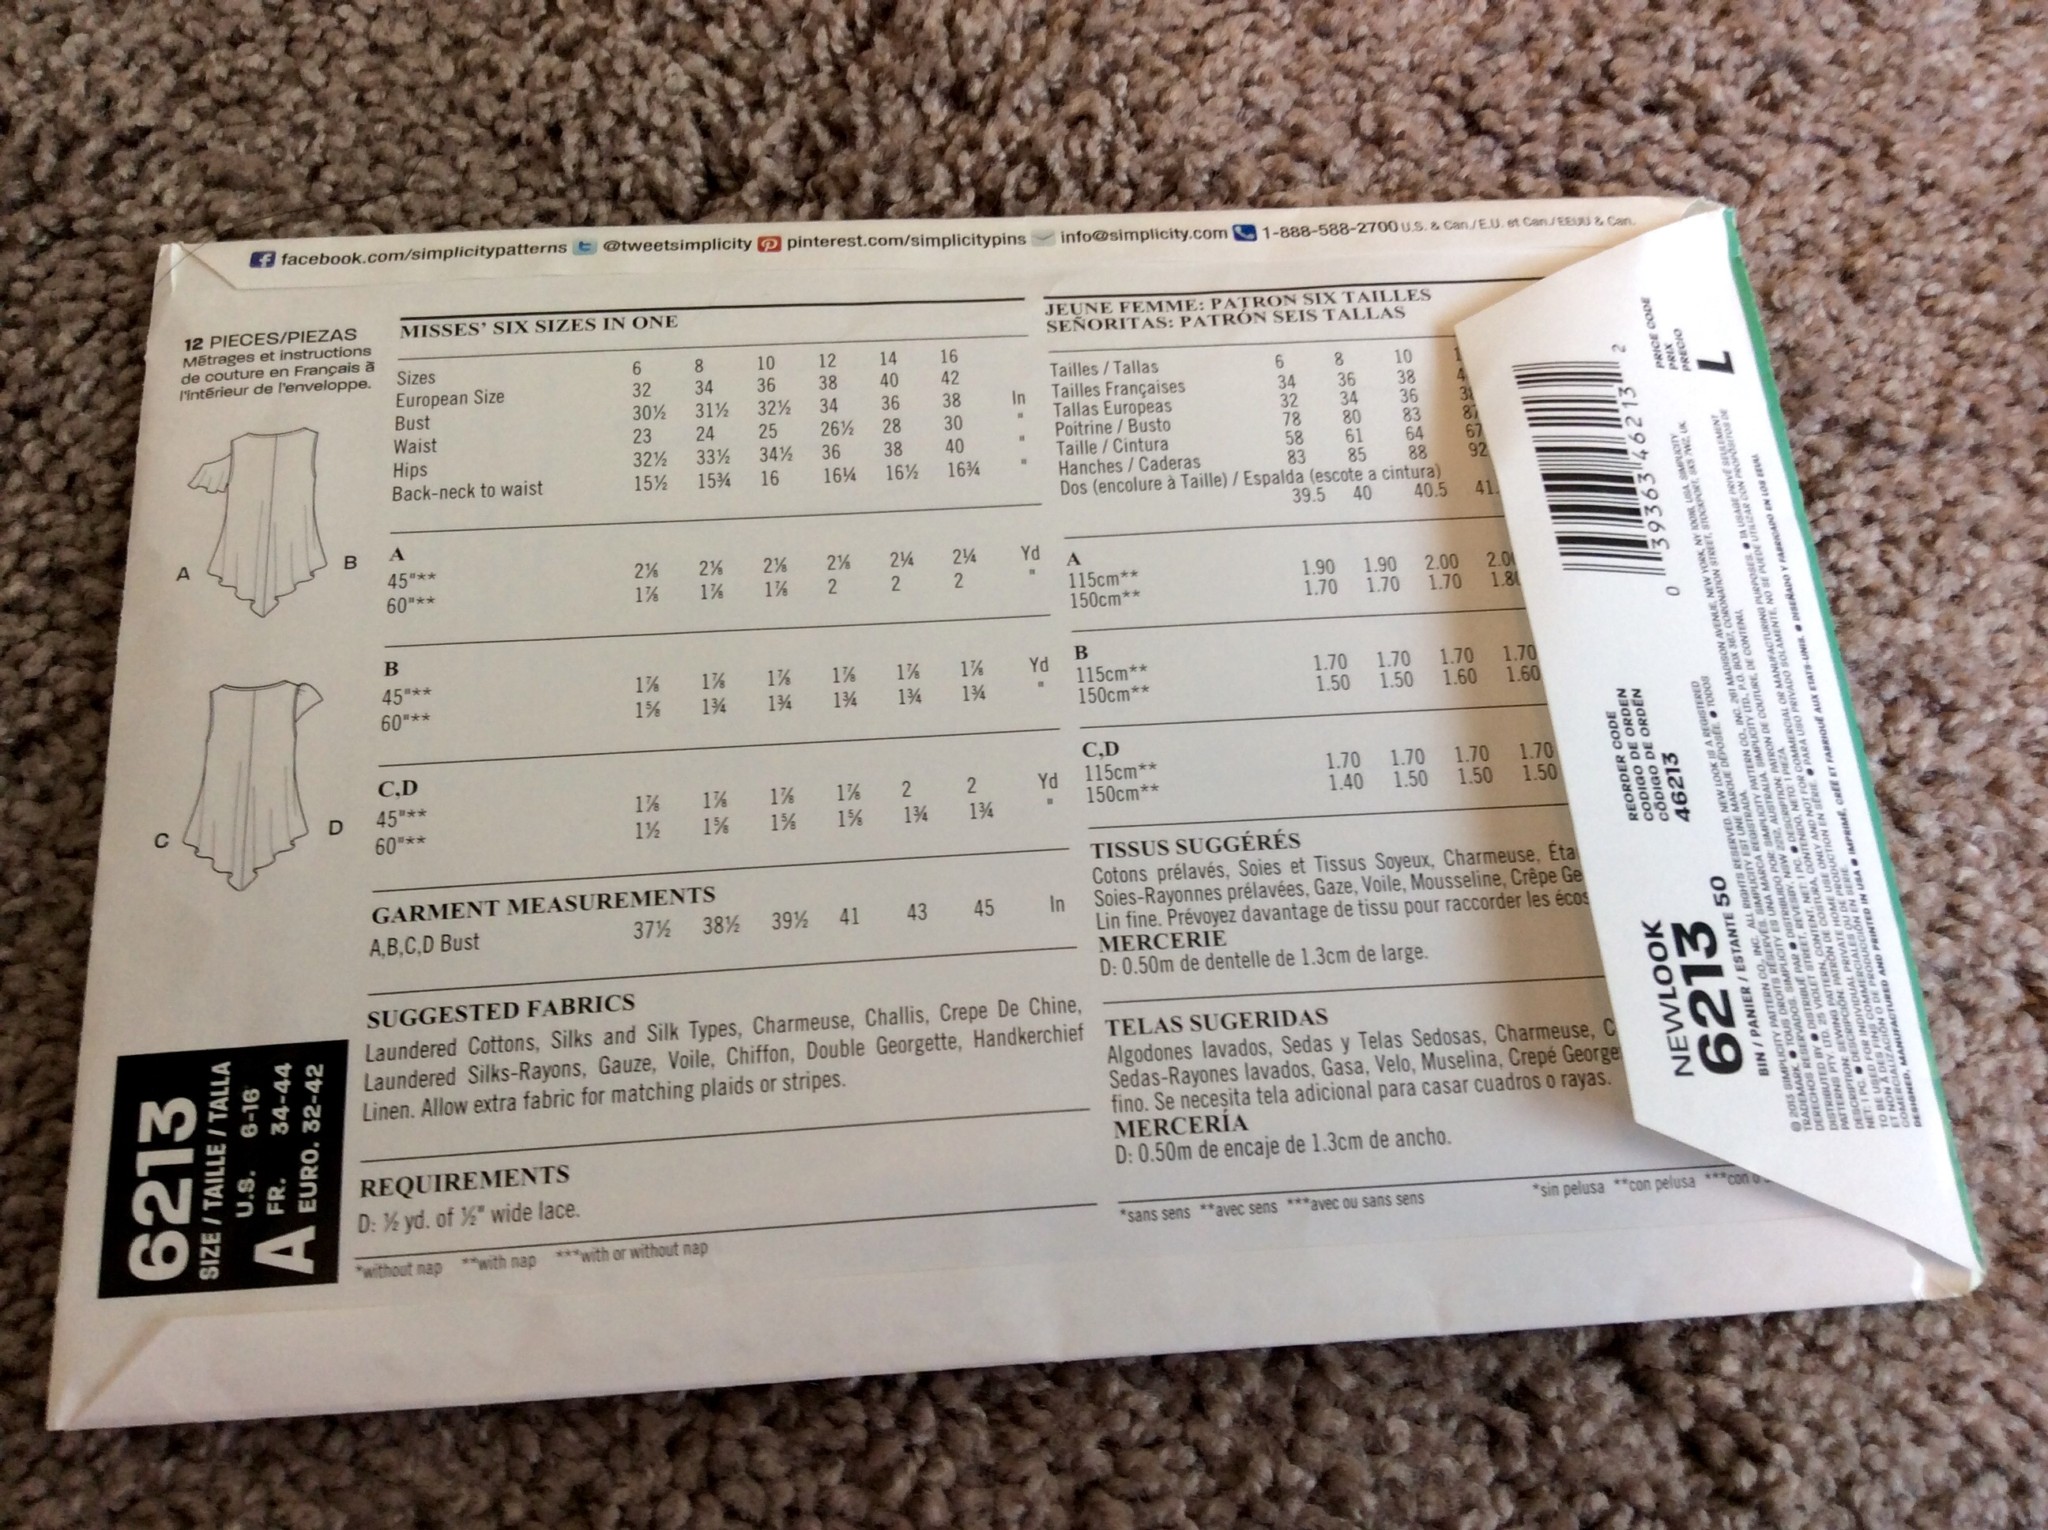
So I did what any normal person would do and ordered FIVE Make in a Day Sewing Kits from Craftsy. Each kit includes enough fabric to make the item and a paper pattern. Craftsy cleverly came up with fitting names like “Ikat Damask Daytime Blouse” or “Coastline Linen Pants Kit.” I just completed the third one – the “Fit To Be Tied Tank Kit” – and think they’re a great value. The tank kit was on sale for $16.97 and came with two yards of Victoria & Albert Bromley Breeze Voile (going rate is $9.50 per yard) plus Simplicity New Look pattern 6213.

Simplicity 6213 has four different versions – sleeveless tank with a tie, blouse with a tie and off the shoulder sleeves, sleeveless tank with crisscross front straps on the neckline, and a blouse with cap sleeves and lace detail on the shoulders.
After prewashing, drying, and pressing the fabric, I cut out all the pattern pieces. There were seven pieces for option B, a sleeveless tank with a neckline tie. Two yards of fabric was very generous for the kit – I have quite a bit leftover.
Cutting out and marking pattern pieces took me about two hours, and constructing the top was about seven hours. Keep in mind that the first time you try any pattern – it will take considerably longer. Then your subsequent attempts will continue to go quicker.
My opinion of Simplicity patterns is that they produce great finished garments – if you can make it to the end. The instructions can be confusing for people that don’t have much experience sewing clothing.
While some of the steps were pretty self-explanatory (stitch center front seam), others might as well be written in Latin. Attaching the neckline facing was awkward, at least for me. You’re supposed to use a 3/8″ seam allowance to attach the facing to the right side of the front piece, then fold the outside seam under TWICE to encase the rest of the layers. Keep in mind that part of that seam is gathered. Doing this was next to impossible and the final results were wonky. It would have been much easier if the seam was 5/8″ or even one inch.

The other part of the directions that really tripped me up was the back neck facing. When you attach the front and back shoulder seams, the illustrations make it appear that the seams are more or less the same width. Mine did not match up, so I tried to stretch the shorter side so that they did.
Of course, only after sewing these pieces together did I see that the back shoulder seams were supposed to extend 3/8″ beyond the finished edge of the front shoulder. That’s because when you attach the back neck facing, you end up turning that portion under so everything eventually matches up. Those instructions and illustrations could have been explained in a way that was much more clear.

The rest of the top came together pretty easily. I do like how the back neck facing and armhole facing was almost like binding a quilt and fairly easy to attach compared to bias binding tape.
I don’t have a serger, but my Janome 7700 does have a few serger-like stitches that I use for finishing raw edges. It’s more time consuming and I do have to trim the excess fabric close to the stitching, but a workable alternative to actually buying a serger. You could also do French seams on all except the neckline.
The tie and loop on the neckline are cute, but if I make this pattern again, I might try to add ties on both sides so I can make a bow on the front.
My measurements are:
Bust – 34″
Waist – 28″
Hips – 37″

Even though all patterns tell you to choose the size based on measurements, I have found that with Simplicity patterns, they still tend to be very loose on me. My physique also includes very small shoulders. I cut out a size 10 for the top of the garment, and a size 12 for the bottom. The bust area fits pretty well, but the armholes are still slightly large and the waistline was quite generous. Next time, I will do the entire pattern in a size 10 which will decrease the armhole circumference.
One other thing I noticed is that there’s really no reason why the back two pieces could be cut out as just one using the pattern and cutting on the fold. That would eliminate a seam, and make construction more efficient.
The finished product looks great, and I will definitely make it again – possibly with the off the shoulder sleeves and making those tweaks I mentioned above. When I compared how I looked wearing it to the model in the Craftsy photo, the fit seemed to be about the same.

Because there are a few steps that are slightly advanced, I would recommend making an easier pattern first before diving into this one. Right before making this blouse, I made Simplicity 1693 and found that to be a good prerequisite for Simplicity 6213. The instructions for 1693 were easier to understand – at least for me.

If you would like to get a full review of Simplicity 1693, one is available at my blog MooreApproved.com – feel free to check it out! I also post photos of my sewing, quilting, and home projects on
Instagram at @MooreApproved
-Jennifer


I think you did a great job! Can’t believe you are a beginning garment maker. Good job!
I had never heard of the kits on Craftsy! I am going to check them out right now. Thanks for the inspiration!
You did great!!! The more you sew, the better you get at judging stuff like that and adjusting the patterns. Keep up the good work!
Great work on wanting to sew up clothes…and only doing so for a month…Wow..I have been putting off making a blouse for me, forever….But now I am going to do it…I have pattern,,,fabric…so now need to just do it….Thanks for the review the blouse is really cute……
great job for sure! I love your material choice as well. I’ve always been scared of tops for some reason…I like that pattern. I have to give it a go.
Very cute! Thanks for sharing. You’re making me feel more brave!
too advanced for me but I love the outcome!
I never knew about these kits either! This was a very helpful review. I like the tank. I am a beginner too.
lovely top. Your review is awesome.