


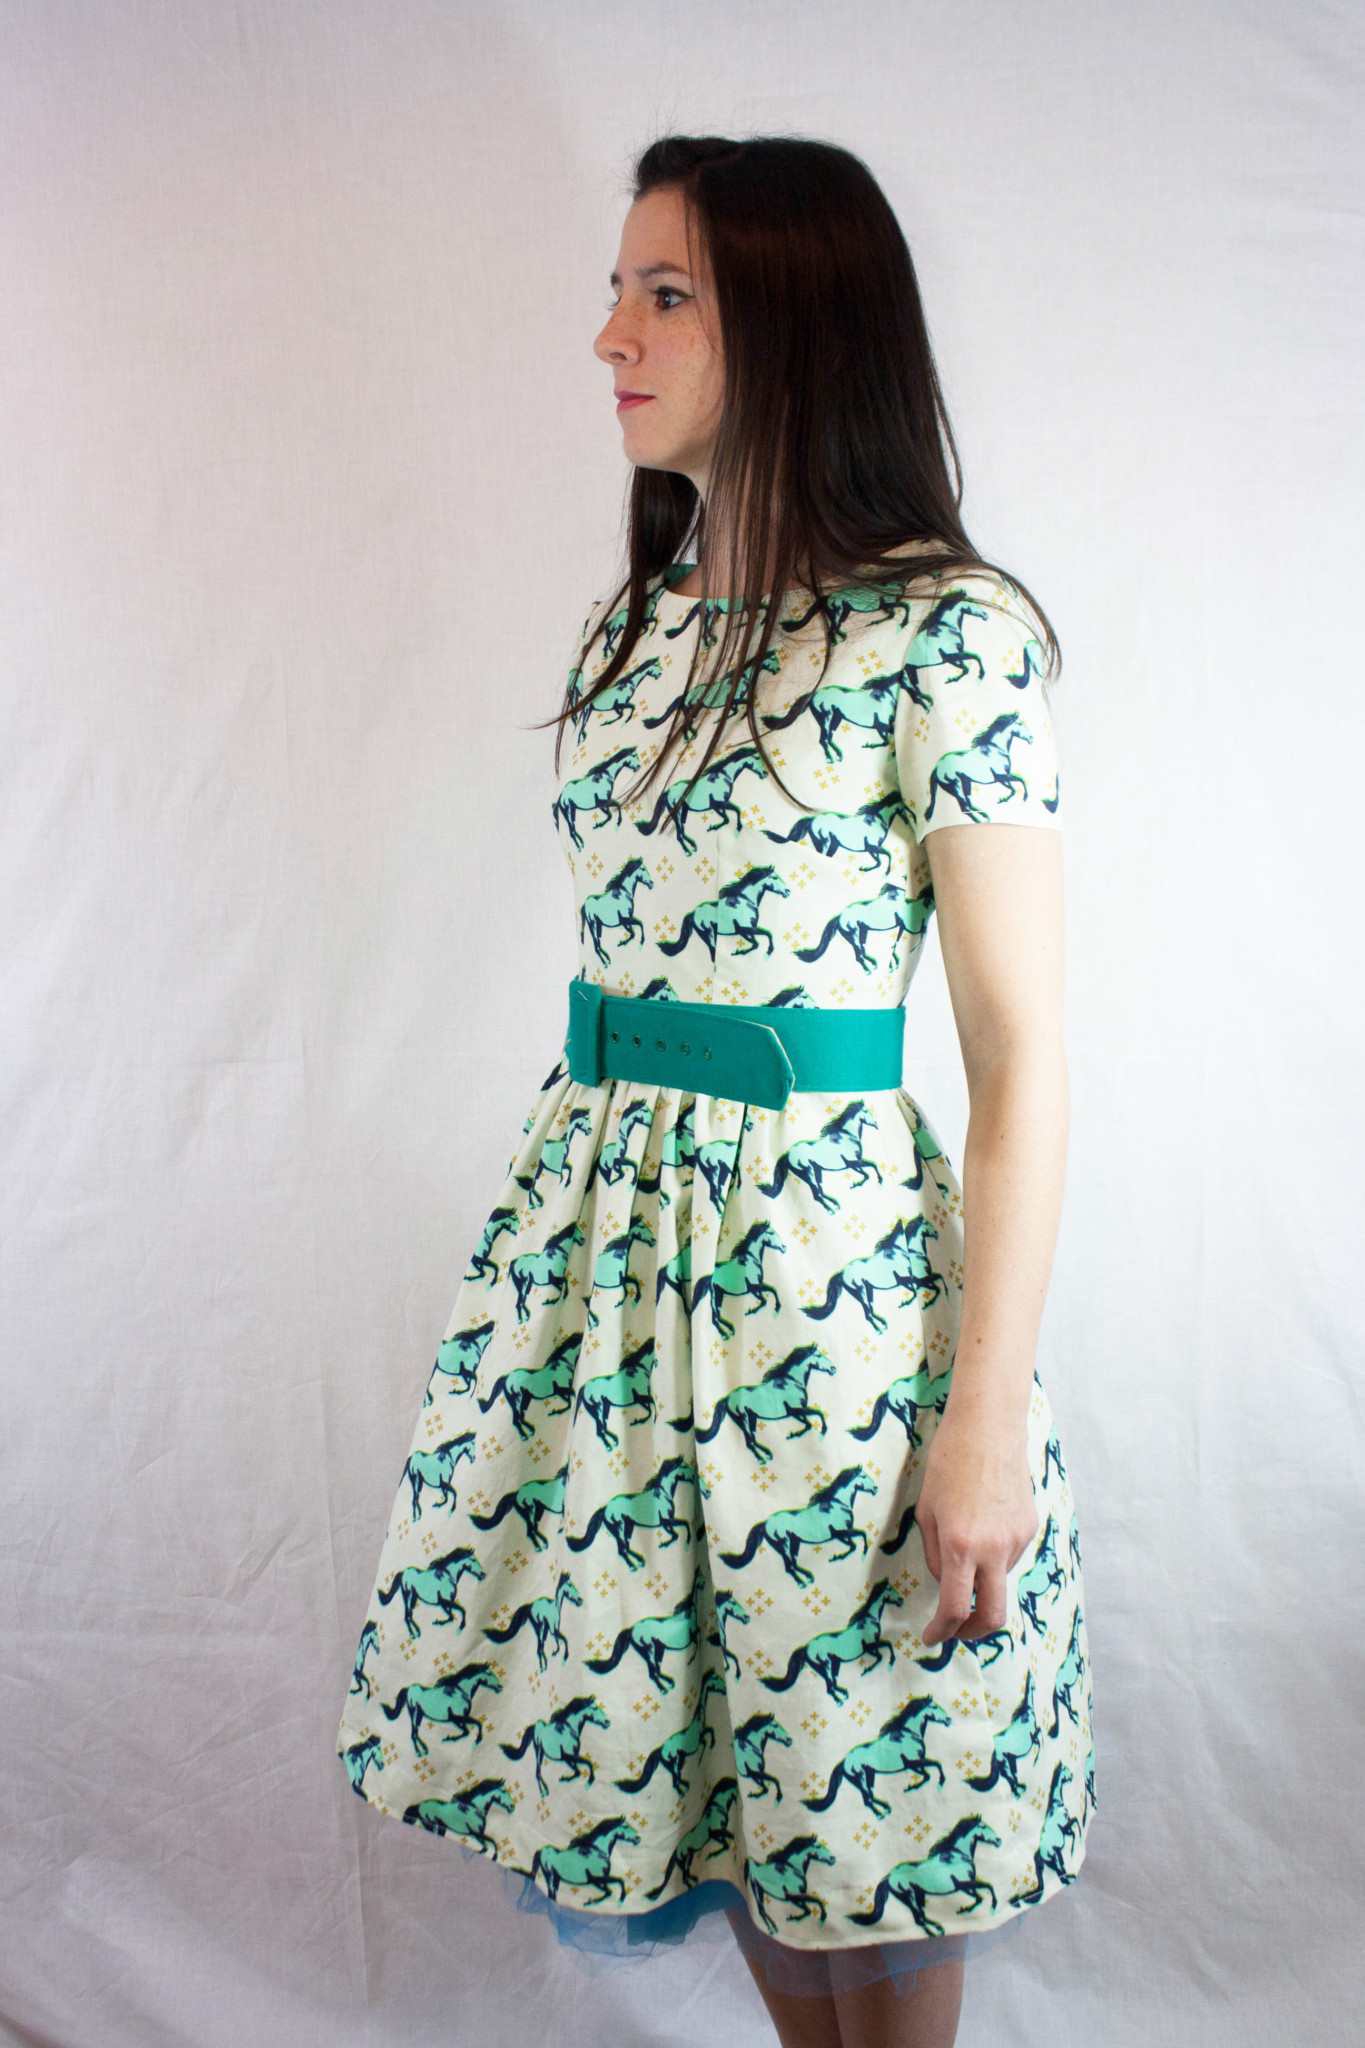
Today, I’m very happy to show you my completed Christine Haynes Emery Dress. If you recall, making this dress is part of my study in sewing, Assignment: Project Garment. If you click on that link, you can also see the projects linked there that I have completed to date.

The Emery Dress is a beautiful dress with an invisible back zipper and gathered skirt. After looking over the pattern well, I decided to make this one so that I could alter bust and back darts to my body. Here were some of my measurements as are pertinent to this pattern, and which pattern pieces I decided to cut:
- High Bust (at underarm) – 31″
- Full Bust (across fullest part of chest) – 31-1/4″ (in this pattern, size 0 of 31″)
- Waist – 25-1/2″ (in this pattern, size 4 of 25″, although I cut size 0 because of ease in pattern)
- Hip – 34-1/4″ (in this pattern, size 4 of 35″, and I did cut size 4 because I like a full skirt)
Upon doing my garment research, I learned that most patterns (unless otherwise specified) draft for a B-cup (Colette Patterns, another indie garment pattern company, drafts for a C-cup). I took this to mean bra size, but it actually means the difference between the High Bust Measurement and the Full Bust Measurement (in my case, the difference between 31″ and 31-1/4″).
What the difference between High Bust and Full Bust Means:
- A-cup – 1″ or less
- B-cup – 2″
- C-cup – 3″
- D-cup – 4″
I fall under the A-cup measurement, so if most patterns draft for a B, that means that I will more than likely need to make a small bust adjustment (you can read about bust adjustments for this particular pattern in the Emery Dress Sew Along here and here).


Since the skirt is a gathered skirt, I just cut out the size 4 front skirt and back skirt pieces directly. I left my tissue pattern pieces intact and transferred the pattern pieces to Pellon #830 Easy Pattern (although you could also use medical paper, Swedish tracing paper, etc.) using carbon paper and a tracing wheel. The Easy Pattern is great because it is light and somewhat see-through, while still being durable – it definitely holds up against tearing. I transferred all markings to the Pattern Ease, as well as relevant information about the pattern pieces (name of the pattern, name of the pattern piece, size, all markings, grainlines, etc.). I am happy that I did this because now I have pattern pieces that I have already fit to my body, for the next time that I make this dress.
I have to be honest and say that I made a lot of mistakes while fitting this pattern, all due to my own error. After I did a massive amount of reading up on fitting garments and adjusting pattern pieces, I think I was a little caught up in my own head and started anticipating what I needed to adjust in the pattern beforehand. I made a lot of muslins, and many of them were really bad. I thought I would need to take in the neckline (for gaping) and adjust the shoulder seam for a forward shoulder (which, in case you really do have, you can find out what it is and how to adjust here – it’s simple). I did not, and doing these adjustments when I didn’t need them really messed up fit issues on the rest of the dress (shoulders and sleeves).

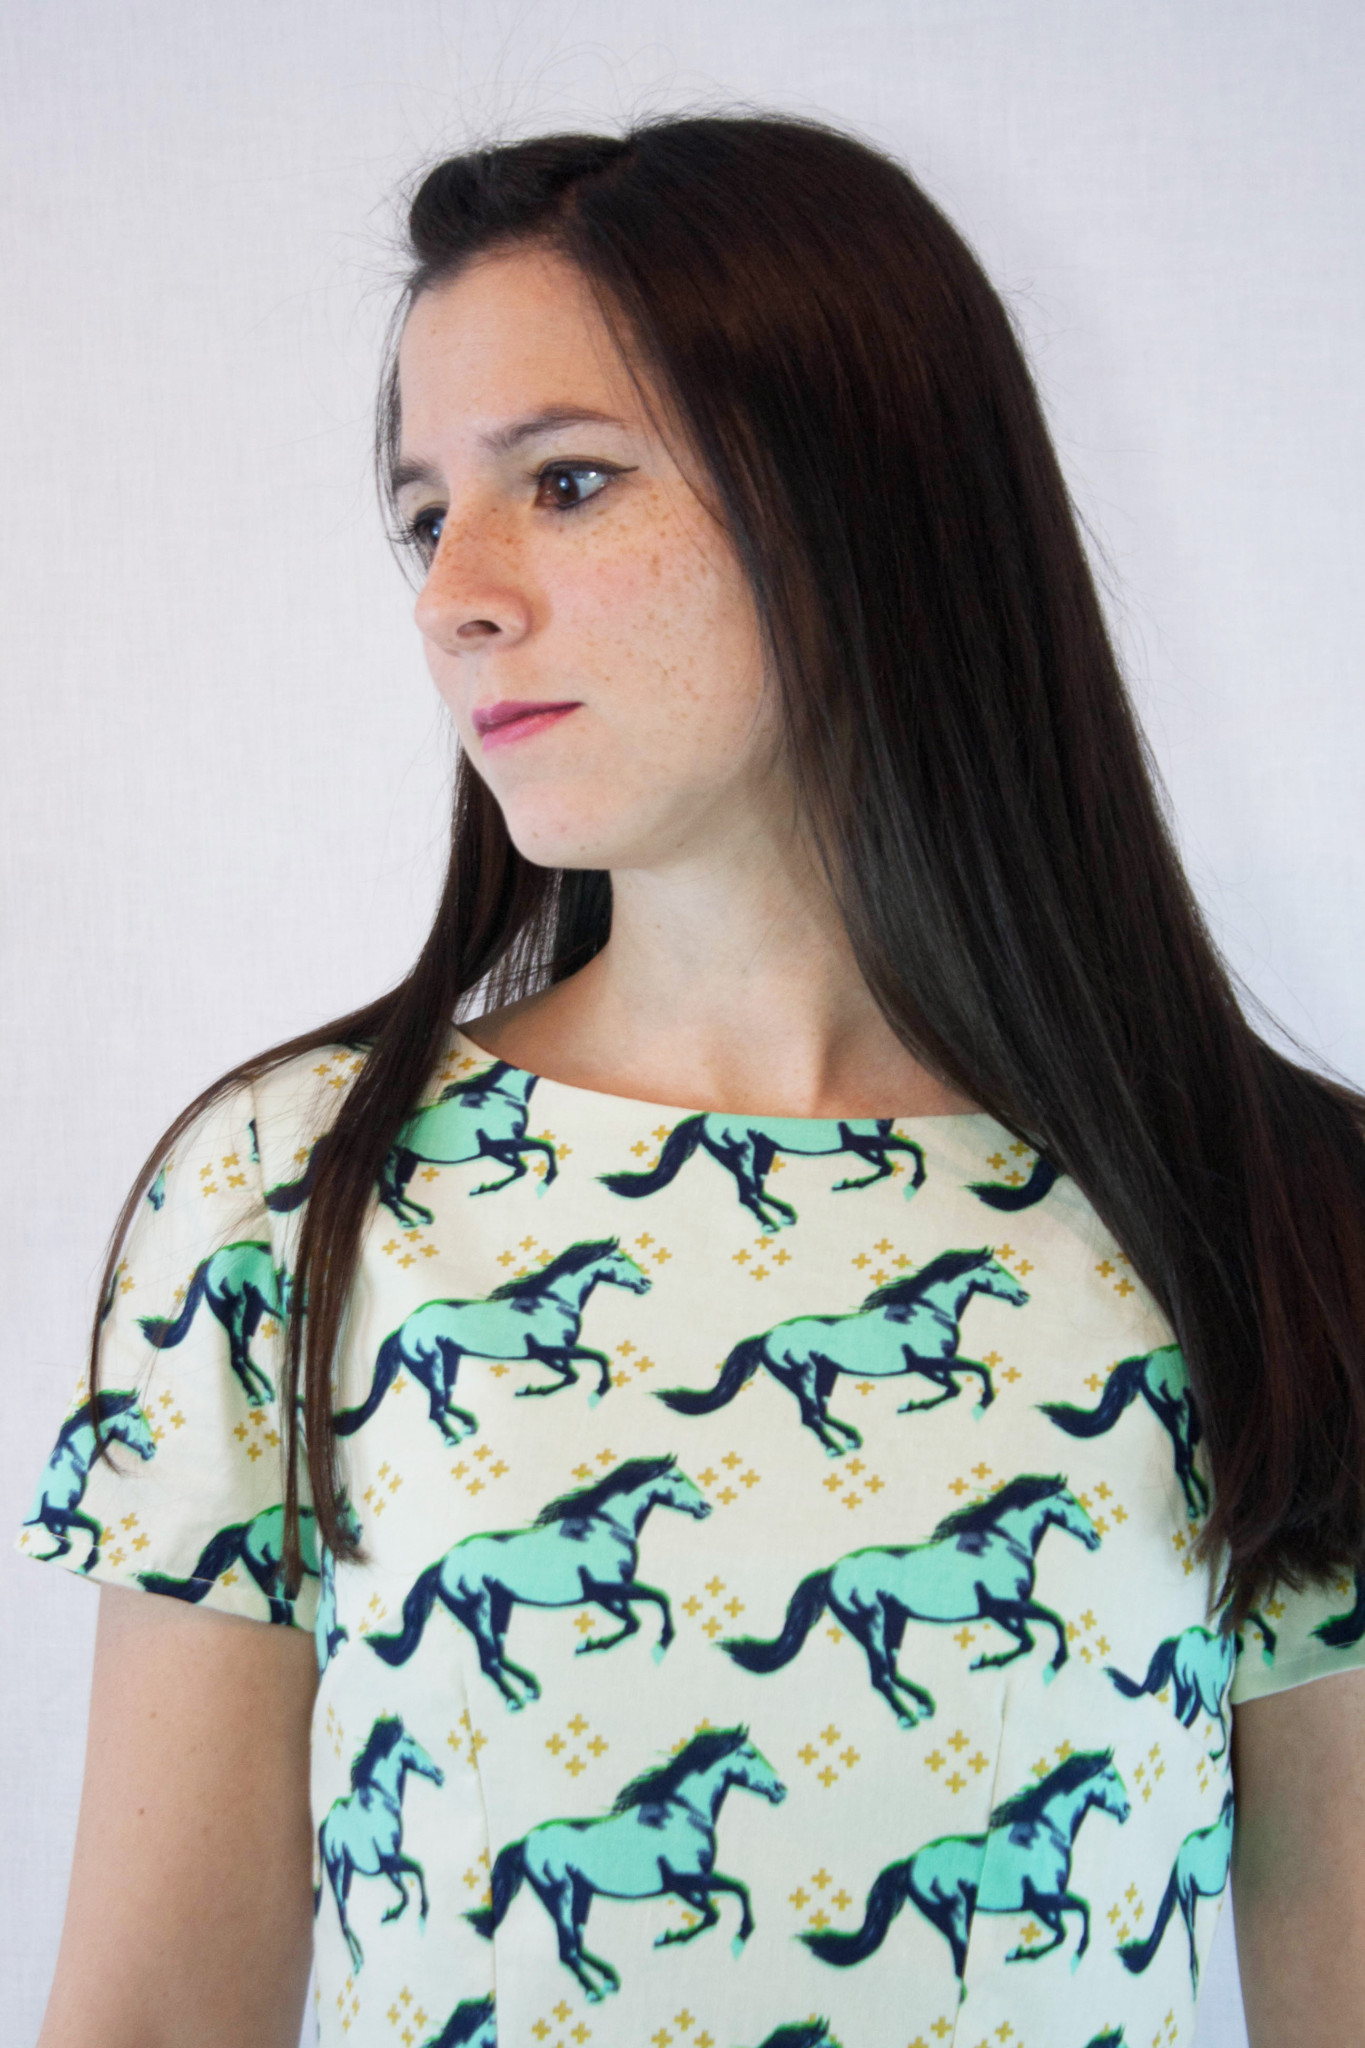
So I started over back to square one, and in the end, I only needed to make the small bust adjustment by 1/2″, as directed in the Emery tutorial. After I made the small bust adjustment, I found that the front bodice darts did not point to my apex (the point at the fullest part of your bust), and so I adjusted the direction of both the side bust dart and the waist bust dart very very slightly so that they pointed to my apex (they were only a very small amount off before the adjustment, but even adjusting them that small amount helped a lot with making the bodice smooth). The little ‘x’ in the picture above intersecting the two darts is my apex.

I decided to omit the front bow for the version of the dress that I sewed (version A). Version B also has that cute collar. I like that there are options for embellishment. Maybe next time I will try the collar. So for what I actually made, there were only pattern pieces for the front skirt, back skirt, front bodice, back bodice, and sleeve. Not too many to keep track of! And pocket, cannot forget the side pockets on this dress…super comfortable, and really easy to put in!
As far as the Emery Dress pattern goes, it is a wonderful pattern and very well written. There are 1-2 illustrations for each direction, which I really appreciated, and Christine Haynes did not leave out small details like I think some patterns sometimes do. Each time I needed to finish a seam, that was directed, as well as grading, and she even generously said that grading was cutting the seam allowance in half. Very well written and a pleasure to sew! I will be making more.
As far as my photos go, I apologize for them not being that great! I tried to set up a backdrop in my dining room, but I’m still having a little bit of a learning curve with the lighting. I know I need to invest in some better lighter or flashes, but I don’t really know what I’m doing and it seemed to be somewhat of an investment (any tips appreciated!).

I hope you enjoyed my write-up on the Emery Dress! I’m finishing up the last couple of steps on my Christine Haynes Marianne Dress this morning, so I should have another post on that one for you soon!


Fantastic fabric!! Dress is beautiful. Thanks for the tips on measurements! It’s always a struggle to get the right fit!
Wow, you did a fantastic job! The fabric is perfect and so is the fit. It looks so professional. Way to go, Sara. It seems you can do anything you set your mind to. 🙂
The bodice looks great. All that muslin work was worth the education it brings. I didn’t know about the cup measurement being the difference between high and full bust.
Beautiful dress! I love your style.
Beautiful dress. I have bee. Wanting to make some simple dresses for me but for some reason I’m completely intimidated. I’m following your series closely!
Looks great! Love it with the belt. 🙂
Wow! What a cute dress. I love that fabric. You did a great job fitting it. It looks tailor made!!
Wow your dress looks AMAZING! The fit is just perfect. And the photos are great too, don’t know what you are apologizing for! Congrats on another gorgeous finish =)
At least temporarily you can use the superbright daylight ottlights from Joann (use a coupon of course) And stick them into any lamp with a flexible arm. Use at least two. Inexpensive temporary solution and the ultrabright bulbs look like daylight even at night. Just put them several feet away from you and point them crossways so that the light bounces away instead of back to the camera.
Wonderful work! The dress fits you beautifully. Did you use a knit fabric?
Beautiful job on the dress, and of course I love the fabric. I really would like to starat sewing for myself but the fit problems seem overwhelming. Not on others, but on myself!
Wow it’s amazing how the littlest adjustments make the difference! The dress looks so well fitted!
Very nice!!!
Your dress turned out beautiful! You have inspired me to try and make one! The belt you chose looks fabulous too!
The dress is gorgeous! Congratulations. Lighting is tricky, isn’t it? I can give you a couple or three helpful hints … first, natural light is always best. If you have somewhere in your home where you get a decent amount of natural light, then go with that. You can amplify natural light with a simple reflector. I have one that is big and round, but folds up to the size of a dinner plate (or charger, but you get the idea of size). I got it from Amazon, and it wasn’t too terribly expensive. Filtered light is going to be your friend, so cloudy day light is good! Just prop your reflector up so that it can put more light toward you – from what I’ve seen, natural light in homes tends to create shadows in the upper part of the body just because of the way light falls. So if you had a reflector, you could throw more light toward your face and even things out a bit. I have to say, these are not bad photos, so don’t beat yourself up about them.
The other thing that I can tell you about light is … if you decide to invest in lights or flashes, you also want to buy umbrellas. Better light for portraits and faces comes from light that is filtered or thrown at us from reverse – that is to say, you would either “shoot through” a white umbrella to create soft light on yourself and a white background, or you could use a silver umbrella (silver on the INSIDE of the umbrella) and have the light pointed in the opposite direction so that light was reflected back at you. Both ways create softer light, but the first one is how I would shoot with a white backdrop. Having said all that, I’m lazy. I would try to make the natural light work for me. 🙂 And if you really want any more advice, email me and I will try to help. I am by no means an expert, but I am a school photographer and I will help in any way that I can.
Good luck!!
what a cute fun dress, it looks wonderful with the belt.
This is SO CUTE!
Great job Sara! I think the most important thing to keep in mind when you’re starting to sew garments, is to take it one step at a time. That way you don’t get intimidated or overwhelmed by the number of (new) techniques you’re doing. I’ve found i can do anything, as long as i don’t think too far ahead. (And can I say “Hallelujah” for another woman with an “A or an AA” cup!)
I forgot to add–I can’t recommend Joi Mahon’s Create the Perfect Fit: Measuring and Pattern Fitting for Real Sewing Solutions book! I’ve taken both Joi’s Craftsy classes,and received my copy of her book yesterday (Merry Christmas to me from me!) and have already read it cover to cover!
So very cute. What a wonderful dress. Looks great.
You have such a gift for choosing the most wonderful fabrics for the clothing you sew. It really makes me look at prints in a new way. Love it! Beautiful work on this dress!
Great dress! I think pockets are such a plus in a dress.
I haven’t sewn a piece of clothing in forever but golly, I love that dress…and with pockets!!!
Your dress is fantastic and you look rocking in it! Great job! Maybe if I’m ever happy with my weight/size I hope to give garmet sewing a try!
What a perfect fit!! It looks beautiful on you!
This dress is adorable on you. And now that you’ve got it figured out, just think of what you can do with it!
Thank you so much for sharing your process and progress. I have this dress on deck but have been nervous to start it! The emery you made is just lovely!
It looks great, glad you were able to sort your sleeve issues too 🙂
For the lighting, I don’t think the lights you have are awful, but if you are after a white backdrop, then it’s as much about how you light the backdrop as it is lighting yourself.
This is beautiful! I have been wanting to try my hand at making clothes, but i am intimidated by the adjustments needed. I have very similar measurements to you, and this dress looks so lovely on you, I might just have to try it myself!
Your dress turned out beautifully. I wanted to tell you that I have owned this pattern since it was released and your dress was the final push I needed to make my own. Thanks for inspiring me to sew it!